Wednesday, 5 October 2011

Summer Work 2011

Summer Work 2011

My summer work sent to me by uni consisted of three parts-

Part One was to fill a whole sketchbook with life drawings of either people or animals in an interesting place

For Part two I had to experiment on A3 sheets with colour and media to develop human or animal studies from my sketchbook into simplified characters. Also had to draw the characters in a number of poses and expressions

And finally Part Three I had to develop ideas for animated films based on your 'real life' observations and using my characters. 


Part One

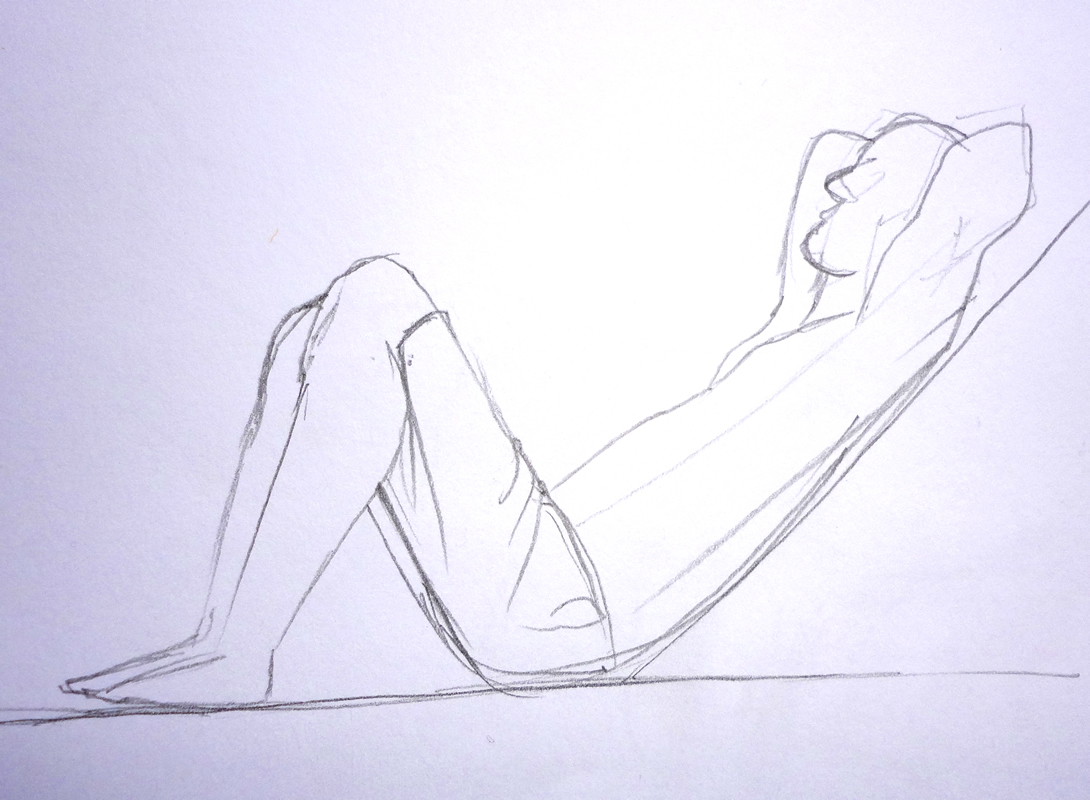
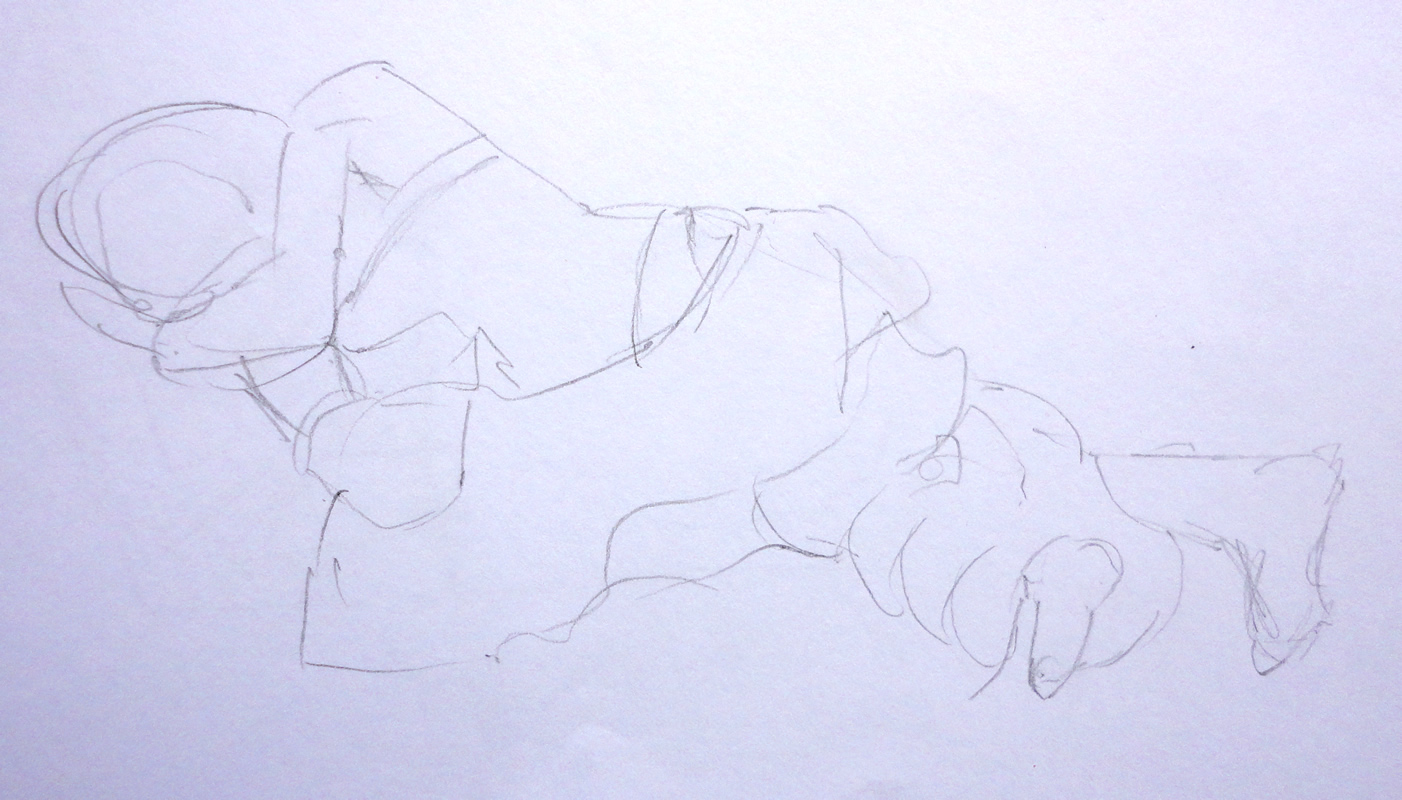
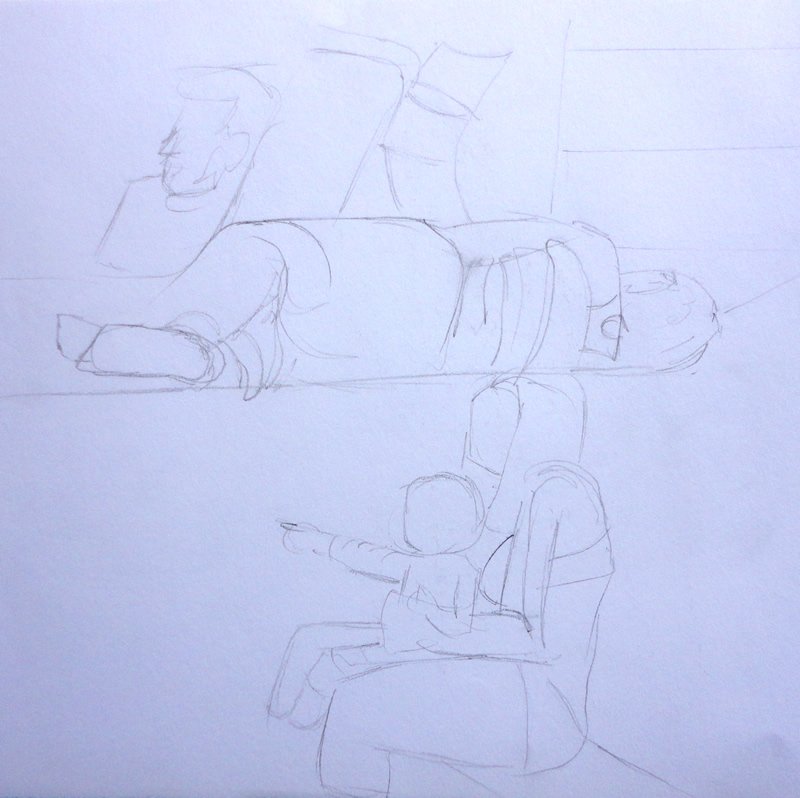
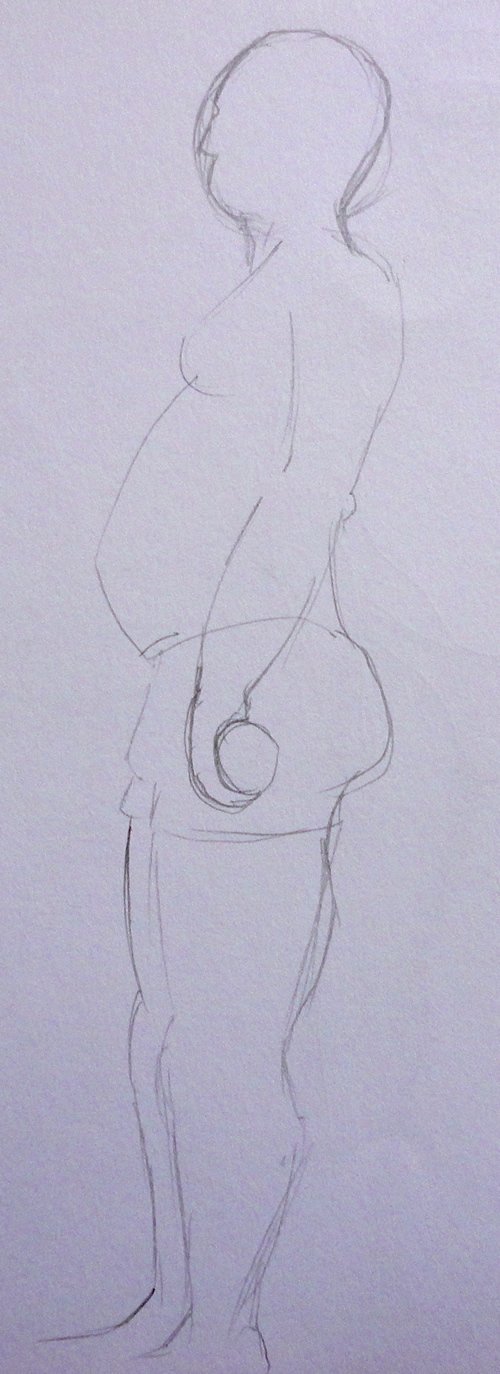
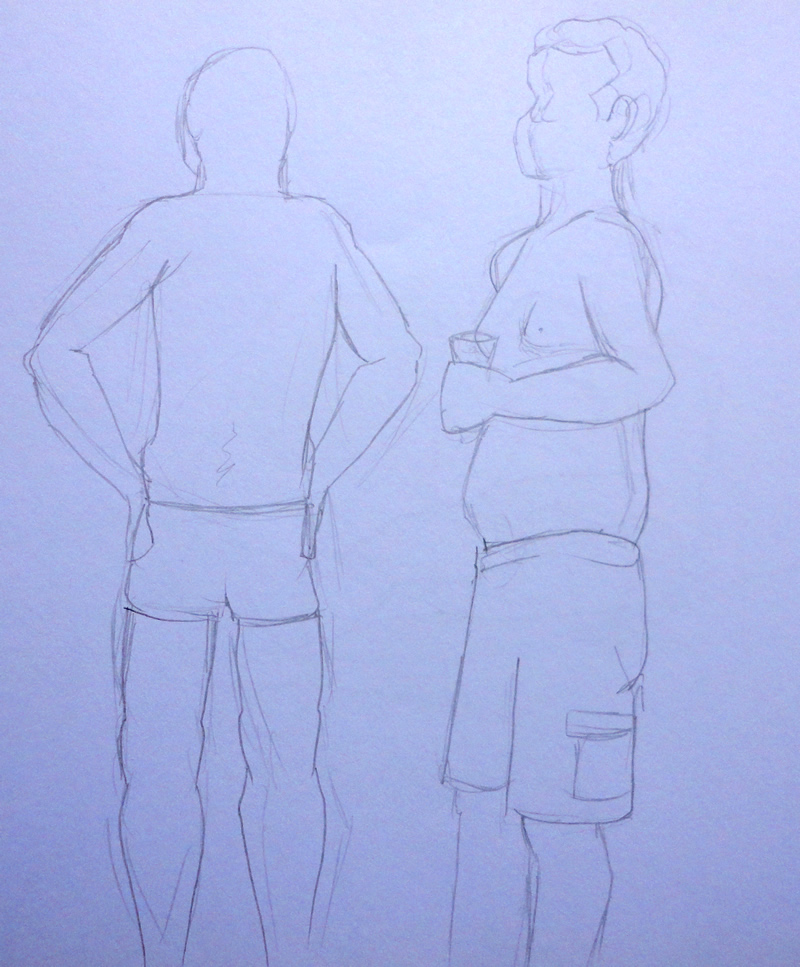
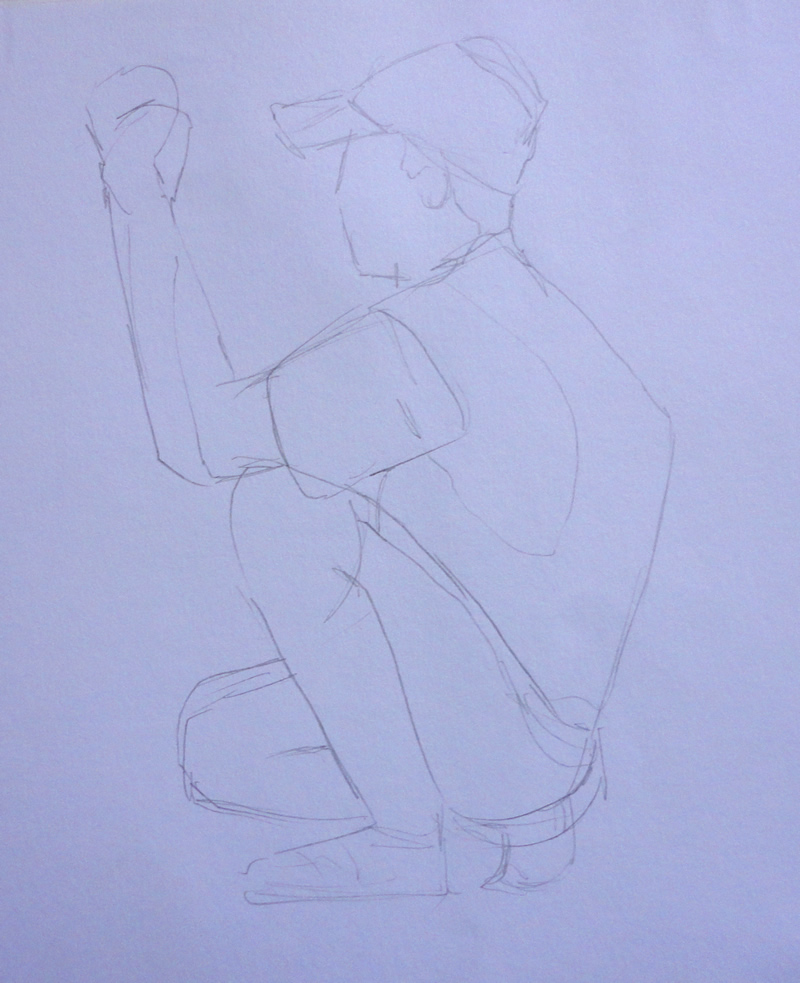
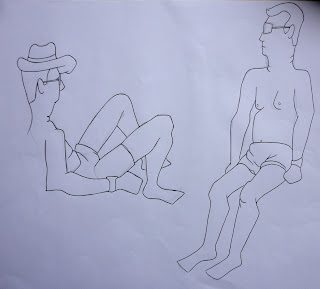
 I was looking forward to this part of the project as I love life drawing. I left it for when I went on holiday in August to Rhodes, a Greek island as I felt that this was the most interesting place that I would be visiting this summer! These are the drawings I did..


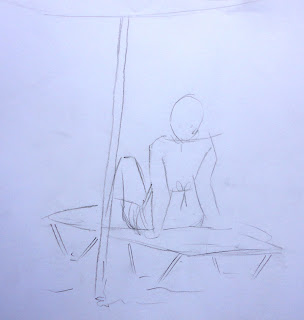


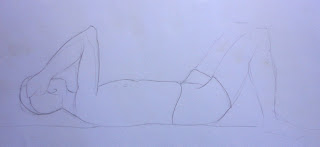

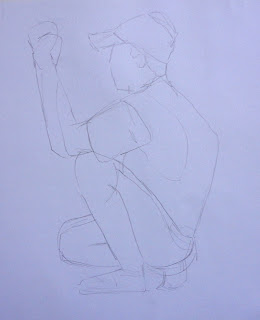


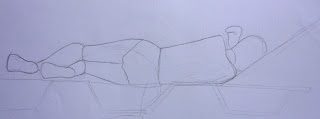


Some didn't work out the way I would have wanted- some weren't very good at all, sometimes I had trouble working out perspective. However I am really happy with most of them as I feel that quite a few of them are a lot stronger than previous drawings. I managed to capture a number of different poses and positions as well as a variety of different people of different sizes, shapes and ages! I really enjoyed doing this.


Part Two


This part I dreaded, I had previously done a project on character design and soon found that it wasn't my strongest point! I generally find character design quite a hard thing to do! However I had another go and this is what I came up with -


First I took my sketchbook and from that I took a few drawings of the same people and different people with similar builds and shapes and put them all together onto A3 sheets of paper.


This one is of different men with the same sort of build. I added a cape onto all of the as one of the men that I used from my sketchbook on here always wore his towel round his neck like a cape, and so I thought instead of taking it out why not make it interesting and put it on all of them. I'm happy with this as they all look like the same person.


This is of a women that used to hang around the pool with her grand children, she had a bad back and so she hardly ever stood up. She did like to tell her grandchildren off though..her voice was very loud! When she wasn't doing that she was always reading her book.


The first image on the top is of three different men and the bottom image is of the same man. I didn't get to know the characters of them very well as they were quite quiet and kept themselves to themselves!


The above two images are mainly of the same girl except from  two of the drawings. All of these girls used to read  their books allllllllllll the time! 

This is of a little girl with blonde curly/wavy hair - she loved her ice cream!


And finally the above two images are of the same man, this man was very interesting. He was mainly quiet, sitting or laying and watching the world go by. I love the shape of his face too, I found it quite unusual. He certainly stuck out to me!


So after I did this I then chose three of them to turn them into a character for my story. I chose the little girl with blonde curly hair, the larger older lady and the man with the narrow limbs and interesting face. I did this so that I had a real variety with gender, age and size to be able to make an interesting story and for it to be aesthetically pleasing. So here are their character sheets.


Overall I'm very happy with the outcome of these characters. I feel that I should have done more in the way of character turnarounds and emphasized the emotions a bit more on some of them. I rendered them with watercolour and coloured pencils.


Part Three

Story boarding is fine when you know what story you're going to do! Again, I don't find this bit so easy - as in making up a story. nothing on holiday happened that gave me a lot of inspiration for a story. I know that from looking at the characters and what they a wearing that it would have to be set on a beach or round a pool but that's as far  I got. And so at the last minute I came up with this...


It was a pretty simple story but I felt that it was quite effective. The storyboard wasn't rendered to the quality I would have liked to do but unfortunately I left it far too late and so it was rushed- something I will not be doing again. 


Overall with the whole project I was very happy, if done again I would have given myself more time to complete my work so that it would be to a higher quality. If I had done that in the first place I would have had a lot more time to work out a couple of stories, maybe choose the best and develop it a bit further to make it stronger. 


Monday, 16 May 2011

Smudge 'n' Click

Smudge 'n' Click is my next assignment, and last for this year! I can't believe it!
Anyway, here's what I've got to do...

"You are required to produce a short animated film, (no more than one minute), based on one of the following themes using smudge 'n' click (animating under the camera) techniques.

1. Metamorphosis
2. The Elements
3. Growth
4. Expressions
5. Materials

You may use a variety of media: charcoal, chalk pastels, inks, paints, sand, or anything that you can easily manipulate under the camera."

First I started looking at the different themes and decided that I was most interested in Metamorphosis, The Elements and Growth. So I did a few quick sketches to try and think of ideas for all of them. These are what I came up with..


For metamorphosis I came up with a caterpillar transforming into a butterfly. I got pretty stuck for ideas for this and so wasn't very inspired by the subject.


I decided to do a sketch for each element, the first was wind and for this I did a tree being blown by the wind . I thought that it would be nice to have the leaves blown off gradually. Then there is water, I drew water droplets falling and hitting the ground and splashing. For earth I had the idea of having an animal walking through mud or dirt  and leaving its foot prints behind after it. And lastly for fire I got quite stuck for ideas...well for something that was a bit more than a flame. I wasn't very successful with fire I feel my idea for it is quite weak. Although now thinking back to it I suppose a massive fire with a lot of flames could have been really effective if animated well.


And finally for growth I drew a plant at different stages growing. I decided that it would be nice to see what is going on underneath the ground too so the audience can see what happens to the seed and roots.

Out of all of these my favourite theme was the elements. I feel that there is a lot more freedom with it and can be explored more than the others. 

My group came together with our sketches and all decided to do the elements. We each chose an element - I chose water. 

These are the ideas I came up with for water...


I think I will start off with the water drops coming down, I would then like to build it up so that it then turns into the downpour but I'm not too sure how I would animate this so that it looks right. I'm not going to use the beach idea simply because I don't think it will fit in after the raindrops. The animation would be all over the place. And then lastly I think I will finish it off with the droplet dropping into the water creating ripples. 
I feel that if the droplet and ripples are animated right it could be a very effective animation.

This is my decided sequence of my animation...


In the next post I will be experimenting with different media..


Thursday, 12 May 2011

Smudge 'n' Click Part Two


So I started off by painting the key frames of the animation sequence to scale as it says on the brief. I chose paint to do this even though I may use another media  it will still clearly show me what is happening and where I'm going next with it.  Here they are ...(sorry about the poor images)


And so that is the sequence in paint!
To get the correct sequence for the water droplet falling into water I looked at lots of slow motion videos on youtube and I will keep using them as a reference when animating too. This way it will look as real as possible. 

I quite liked the idea of working with chalk as I could easily rub it, smudge it and manipulate it, and so this is what I did...


I was happy with this overall but there where a couple of things I wasn't too keen on. For example the lines at the bottom when the droplets splashed were meant to be puddles. They didn't look like puddles at all. When I do it again I need to keep the droplets dropping for longer just so that the audience can gauge it a bit better. The beginning of the droplet falling into the water was good, I was really happy with that but it was let down by the other half, the water that comes back up hangs in the air too long and I felt it was too big. I wasn't too keen on the transition of the blue rising, I tried to make it look like water rising up but it didn't work the way I wanted it to. Next time it needs to be smoother. Another thing that I wasn't too sure about is the speed of the animation, I feel that it all happened too quickly and so next time I will do it so its a little bit slower.

Although I enjoyed using chalk it was very messy and not as easy as I had thought. 

Next I tried paint (the same paint that I used for the key frames)


I liked this one so much that I decided to use it as my final animation. I really enjoyed using this too and found it was easier to go over a colour with a different colour than the chalk. As you can see I took out the puddles at the beginning which I feel makes it look a lot better and is a lot more effective. More droplets fall and for longer, which is also an improvement and the transition to blue is smoother. I managed to make the beginning of the ripple sequence the same and am as equally pleased with this as I was with the chalk one. The end bit still isn't right where the water comes back up but has improved all the same! 

I found that making this animation became quite tedious at points, especially the ripple sequence but it was worth it! Overall I am very pleased with the outcome. If I was to do it again I would experiment with more media and research into other possible sequences that I could have done. 

Friday, 6 May 2011

3D Stop Motion Part Six

  Time to Animate!!!

It took aggeeesss to make and now it was time to animate (this is the part where I get really excited!!!). 
To start with we had to animate the scenes that didn't have the rabbits in as they weren't finished (this was very frustrating) Unfortunately I didn't get to do as much animating as I would have liked to because a lot of it was done on the day I had to go home but I am satisfied that I did enough to get my hands into it and have a good mouthful to taste it. 
I animated the bit where the girl is running towards the stage, the girl opening the door to enter the theatre and where the girl was pushed in to the hat by the magician. I had a lot of fun doing this...the most fun was making the girl run, at one point it looks like she is tripping over her dress! I loved using the magnets..it made it so easy to animate and was a bit of a battle to get them to move (they were so strong!) but it was worth it. The little girl puppet was a pleasure to work with. When animation he being pushed into the hat we didn't actually push her into the hat but rather sat the hat forward and put her behind. I was a job to stop the hair from being seen either side of the hat but we managed it!...Just!

Stuart was put in charge of editing the film over the easter and he did a grand job! 


Overall I am very happy with the animation, it came out well. The lighting sets the mood really well, we used a number of camera angles to give it a bit of diversity and the sound edited in is great, it brings all of the movements together and makes it pop! All of that hard work was definitely worth it.
if I was to do it again, I would plan it all better, although a lot of our time was spent waiting for handy man Dave to help us or to be able to get some materials out of the cupboard. 
I would love to do another stop motion. 

3D Stop Motion Part Five


Building the Set


This is the main part of the set...we had 2 bit of wood, on was for the back which we hung red material on for a curtain backdrop (which is the red material you can see laying down) and then the bit standing up with a hole in and curtains either side. The camera when shooting will be the other side to this and this is where the magician pops out from. 

The next bit was the stage that you can just see in the image above... here it is being made..


This is the front of the stage..where the magician will perform his magic tricks. The bits of wood that we stuck on the front had been burn to give it a worn effect, however later on the group decided to paint this black. 

We were going to use the remaining bits of wood to construct the floor like this...


But we were told that the magnets used to keep the puppets standing up wouldn't work through them. So we decided to scan them in and print out the effect. However once we had we didn't like it and decided to keep the stage as it was.


Props

The Chairs
There were many props that had to be made... the ones that I took a major role in making were the chairs. Stuart and Suzi made a rough mock up chair to give us an idea as to the size and dimensions...


I the took this home and made this...


This was a lot sturdier and stronger that the first.
I took this back and showed the group. We then made a production line making the chair as we needed 12...3 and row and 2 rows each side. I was in charge of drawing the nets as I knew them and the dimensions. Suzi and Stuart were cutting and sticking them together. Stuart also cut out the foam for the backs and Aaron and Bas stuck the red material over them and stuck black bit of card on the back to neaten them up and finish them off, here are the stages....


Then the rest of the cardboard was painted black. 

The Dead Audience

Stuart made 4 different heads for the dead audience out of clay...all having died of some sort of failed magic trick. Bas and Suzi painted two each.


The Charcoaled and Melted Victim


Shot in the Head Victim


Frozen Victim


Saw Victim


The Hat

Unfortunately I don't have any images of the hats but Bas made them out of black plasticine and did a very good job of it. He made four, all ranging in size. .

The Swords

Aaron made the swords that the rabbits stick in the hat when the girl is in it. There are very simple, basically little sticks of wood painted silver. 

Overall I was very pleased with the set and props, I feel that we did a rand job of making them. This is the front view of the set almost complete...